AION 2 Flying Guide: Takeoff, Gliding and Safe Landings
Learn AION 2 flight and gliding fundamentals: Flight Power, takeoff checks, altitude control, route planning, wing use, and safe landing habits.
Updated: 2026-10-19 · Published: 2026-10-19
On this page
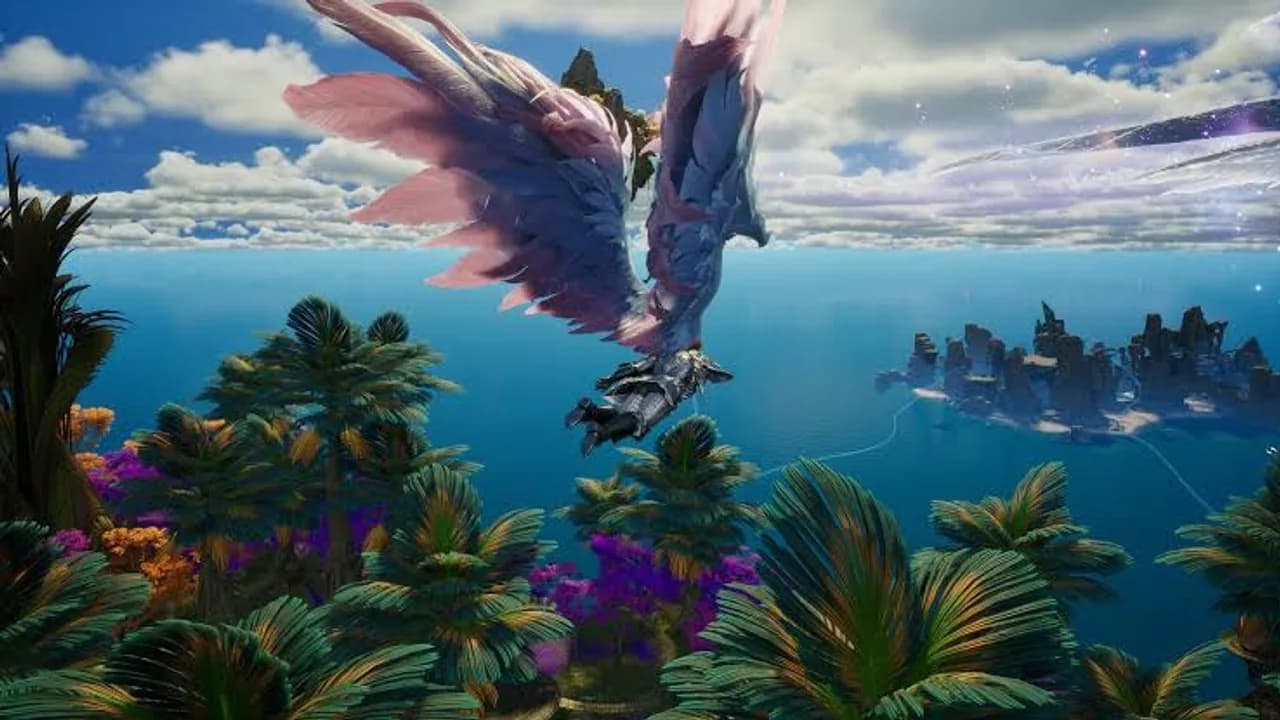
Flying and gliding turn vertical terrain into a route-planning problem. The safest traveler does not simply aim at the destination and hold forward. Check whether flight is available, understand the Flight Power shown by the current interface, keep a landing option in view, and change altitude only when it improves the route.
Check the Route Before Takeoff
Open the map and identify the destination, the highest obstruction and at least one intermediate landing area. Look for cliffs, towers, narrow gaps and terrain that may hide the ground during descent. A direct line can be slower or less safe if it requires climbing too high or leaves no recovery point.
Confirm that the current area permits the intended movement and that the required wings or travel feature is available. Do not jump from an edge until the takeoff input and camera direction are settled. The map navigation guide explains how to create short map-to-landmark route segments.
Read Flight Power Instead of Guessing
Flight Power is the visible resource that limits or supports aerial movement in the current ruleset. Watch the gauge from the beginning of the trip and learn how climbing, level travel, gliding or other actions affect it. Interface labels and exact behavior can change, so use the live gauge rather than a remembered number from another version.
Set a personal reserve: enough power to correct direction, clear an obstacle and reach a safe landing. When the gauge reaches that reserve, stop extending the route. Descend toward the planned landing area instead of hoping the destination is closer than it appears.
Control Altitude and Camera
Gain only the altitude needed to clear terrain. Excess height costs resources and makes the landing area harder to judge. Keep the camera angled so the route ahead and the ground below remain visible, then make small direction changes. Fast camera turns can hide an obstacle and cause an unnecessary correction.
Use landmarks at different distances: a nearby ledge for immediate direction, a large structure for the middle of the route, and the destination marker for the final approach. If the destination disappears behind terrain, navigate to the next landmark rather than steering blindly through the obstruction.
Understand Gliding and Momentum
Gliding is useful for converting height into horizontal travel, but it still needs a planned arrival. Begin from a stable direction, avoid repeated sharp turns, and watch how quickly altitude is being lost. If the projected path falls short, choose the nearest safe ledge early instead of waiting until only dangerous ground remains.
Practice gliding over forgiving terrain before using it across a ravine or hostile area. Repeat the same short path and observe takeoff position, camera angle, altitude loss and landing distance. Change one factor per attempt so the result teaches you something useful.
Always keep a second landing area
The primary destination may be blocked, occupied or farther away than expected. A visible fallback turns a route error into a short stop instead of a fall.
Approach and Land Safely
Begin the landing before passing above the target. Reduce altitude in controlled steps, align with an open surface and avoid aiming at a thin railing, roof edge or crowded object. Watch for enemies and hazards on the ground; a technically successful landing is still poor if it places the character inside immediate danger.
After landing, stabilize the camera and confirm the next action before moving again. If the route continues, allow resources to recover as the current system permits and recheck the next segment. Mounts may be better for level ground; compare travel options in the mounts guide.
Choose and Manage Wings
Treat wings as both a movement tool and an equipment or collection goal. Read the current item description and interface before assuming that appearance, acquisition method or movement benefit is identical across wings. The wings guide organizes the practical questions to check before investing resources.
Keep visual preference separate from route safety. A favored wing appearance does not replace learning takeoff, Flight Power and landing control. Test any new setup on a short known path before relying on it for exploration or timed travel.
Flight Practice Checklist
- Mark the destination and a fallback landing area.
- Confirm the current zone supports the planned movement.
- Watch Flight Power from takeoff, not only near empty.
- Use only the altitude required to clear obstacles.
- Glide with small corrections and an early fallback decision.
- Land on a broad safe surface and reorient before continuing.
Once these habits are automatic, connect several short segments into a longer route. Reliable stops are usually faster than recovering from one ambitious flight that had no safe ending.
Related guides
AION 2 Wings Guide: Grades, Sources and Collection Effects
Learn how AION 2 wings differ by grade, acquisition source, equipped stats, owned effects and upgrade tracks.
Read moreSystemsAION 2 Mounts Guide: Souls, Types and Collection Progress
Plan AION 2 mount collection with soul unlocks, five creature types, type levels, option slots and source priorities.
Read more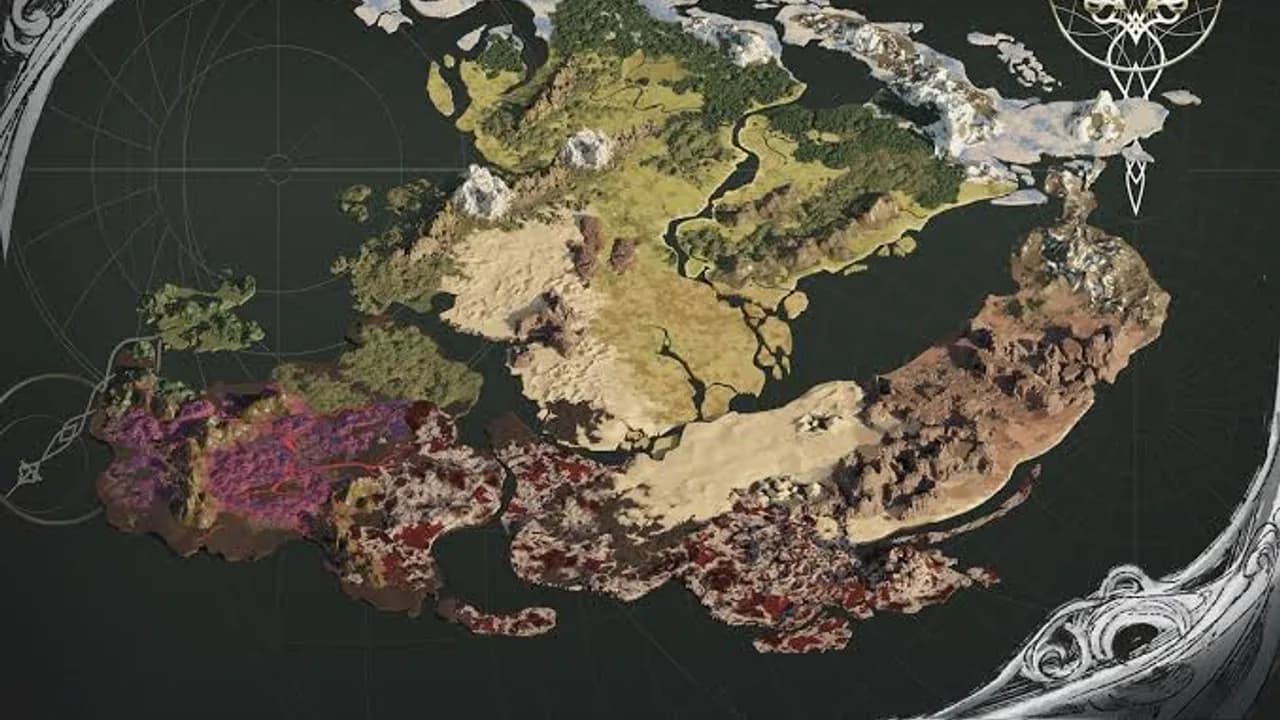 Exploration
AION 2 Map and Navigation Guide: Quests, Markers and Routes
Navigate AION 2 more efficiently by reading the world map, tracking quests, checking zones and channels, and planning short exploration routes.
Read more