AION 2 Combat Guide: Targeting, Dodging and Party Roles
Learn AION 2 combat fundamentals: target selection, skill rotation, resources, defensive movement, and the jobs of tanks, healers and damage roles.
Updated: 2026-10-19 · Published: 2026-10-19
On this page
AION 2 combat becomes easier when you separate three jobs: reading the encounter, choosing the right action, and preserving enough movement and resources for the next mechanic. A long skill list is not a rotation by itself. Build a short repeatable sequence, then adjust it when the target moves, becomes dangerous or changes phase.
Set Up Targeting and the Camera
Keep the enemy, its cast information and the ground around your character visible at the same time. Select the intended target before committing a long animation, and confirm the target frame after adds appear. If tab targeting selects the wrong enemy, use the mouse or a direct target action instead of continuing the rotation on a harmless target.
Turn the camera far enough to see attacks arriving from the side, but avoid constant fast movement that hides telegraphs. The controls and keybind guide explains how to place target, dodge and defensive actions within easy reach.
Build a Simple Rotation
Start with a small priority rather than memorizing every skill:
- Apply an important setup effect if the target does not already have it.
- Use the strongest appropriate skill that is ready and safe to cast.
- Use short filler skills while major actions recharge.
- Keep one movement or defensive option available when a mechanic is expected.
- Restart the sequence only after checking the target and your resource bar.
A rotation is a practice framework, not permission to ignore the encounter. Canceling or delaying damage is correct when finishing the animation would place you inside a dangerous area. Test changes against the same type of enemy and compare several attempts, as described in the stats guide.
Manage Resources and Cooldowns
Watch the resource used by your class and learn which actions restore, preserve or rapidly spend it. Emptying the bar for a small target can leave the character unable to answer the next elite or boss mechanic. Likewise, saving every cooldown forever removes much of their value.
Group cooldowns by purpose: regular damage, burst, movement, personal defense, control and party support. Use regular actions freely, plan burst around safe attack windows, and reserve at least one defensive answer until the dangerous pattern has passed. Consumables should support this plan rather than replace basic resource management.
Dodge, Reposition and Survive
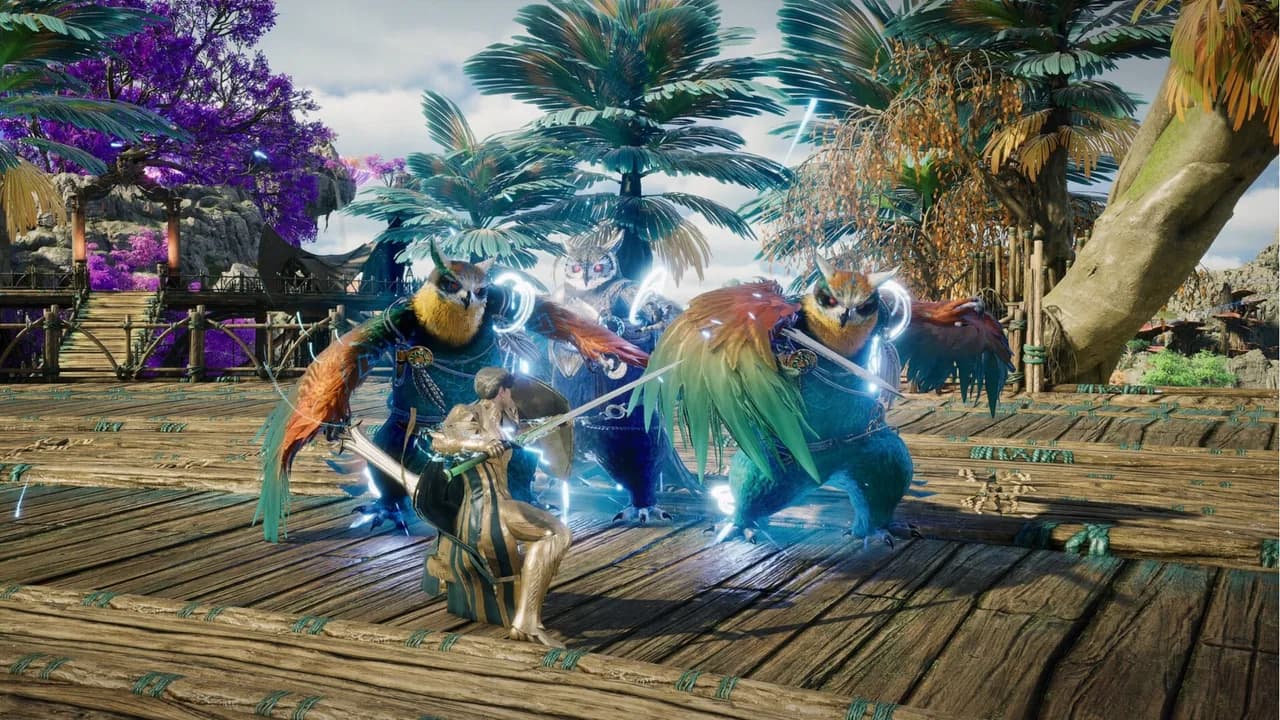
Move because a visible mechanic requires it, not simply because movement feels active. Step out of persistent ground effects early, cross narrow danger zones by the shortest safe route, and avoid dragging an enemy through the rest of the party. After a dodge, face the target again and verify range before resuming the rotation.
Treat a failed attempt as information. Ask whether the problem was late recognition, the wrong direction, a movement skill already on cooldown, insufficient range or an unsafe animation. Change one cause at a time. More damage does not solve an attack that must be avoided.
Practice one layer at a time
First survive while using a short rotation. Add extra skills only when targeting, movement and resources remain stable.
Understand Party Roles
The tank keeps dangerous enemies controlled and positioned so the group has a predictable safe side. The healer watches incoming damage, removes or answers harmful effects when possible, and preserves resources for high-pressure moments. Damage roles defeat priority targets, interrupt or control when assigned, and avoid creating unnecessary healing work.
Roles overlap. Every player is responsible for movement, target priority and personal survival. A healer cannot reliably rescue repeated avoidable damage, and a tank cannot position an enemy if other members attack or pull unrelated groups first. Before entering group content, review the activity types in the PvE overview.
Read the Fight Before Optimizing
On the first attempt, identify the arena edge, add spawn points, major cast names, safe positions and phase changes. Use later attempts to improve timing. If the group fails, describe the event rather than blaming a role: which target was active, what cast or ground effect appeared, and what happened immediately before the defeat.
For practice, choose content where mistakes are recoverable. Keep the same control layout and a small skill sequence until the actions become automatic. Then add situational skills, party coordination and more aggressive cooldown timing without sacrificing the ability to respond.
Pre-Fight Checklist
- Confirm the correct target and expected role.
- Put dodge, movement and personal defense on reachable keys.
- Check resource, health and required consumables.
- Decide which target or cast has priority.
- Keep the camera wide enough to see the arena.
- Save one answer for the next known dangerous mechanic.
This checklist is more useful than copying a perfect training rotation into an unfamiliar fight. Consistent decisions create the foundation; equipment and optimization improve it afterward.
Related guides
 Systems
AION 2 Controls, Keybinds, HUD and Controller Setup
Build a practical AION 2 control layout for keyboard and mouse, organize the HUD, and check controller or Steam Input behavior safely.
Read more SystemsAION 2 Stats Explained: Build for Damage, Accuracy and Survival
Understand AION 2 combat stats, diagnose accuracy and survival problems, compare gear correctly, and choose stats for your role.
Read moreDungeonsAION 2 Dungeon and PvE Overview
Understand AION 2 solo instances, party dungeons and raids, and use the current client to check access and reward conditions.
Read morePvPAION 2 PvP Guide: Focus Targets, Control and Disengagement
Build reliable AION 2 PvP habits with focus-target calls, line-of-sight positioning, control-effect timing, cooldown planning, retreats, and regrouping.
Read more